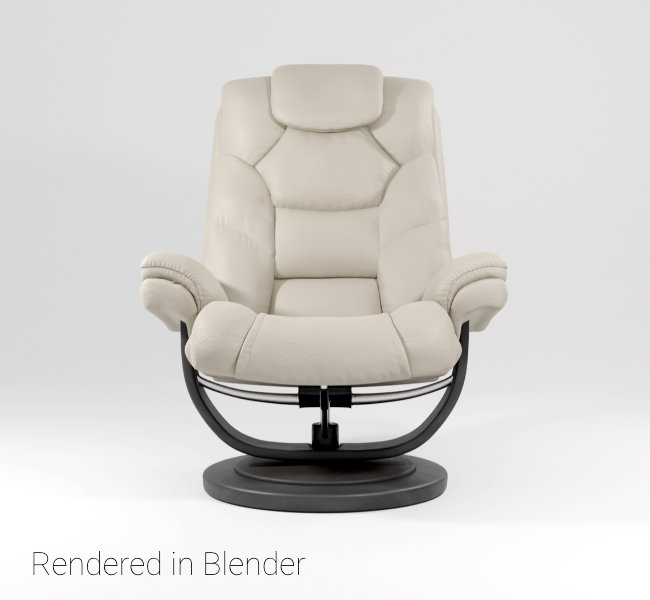
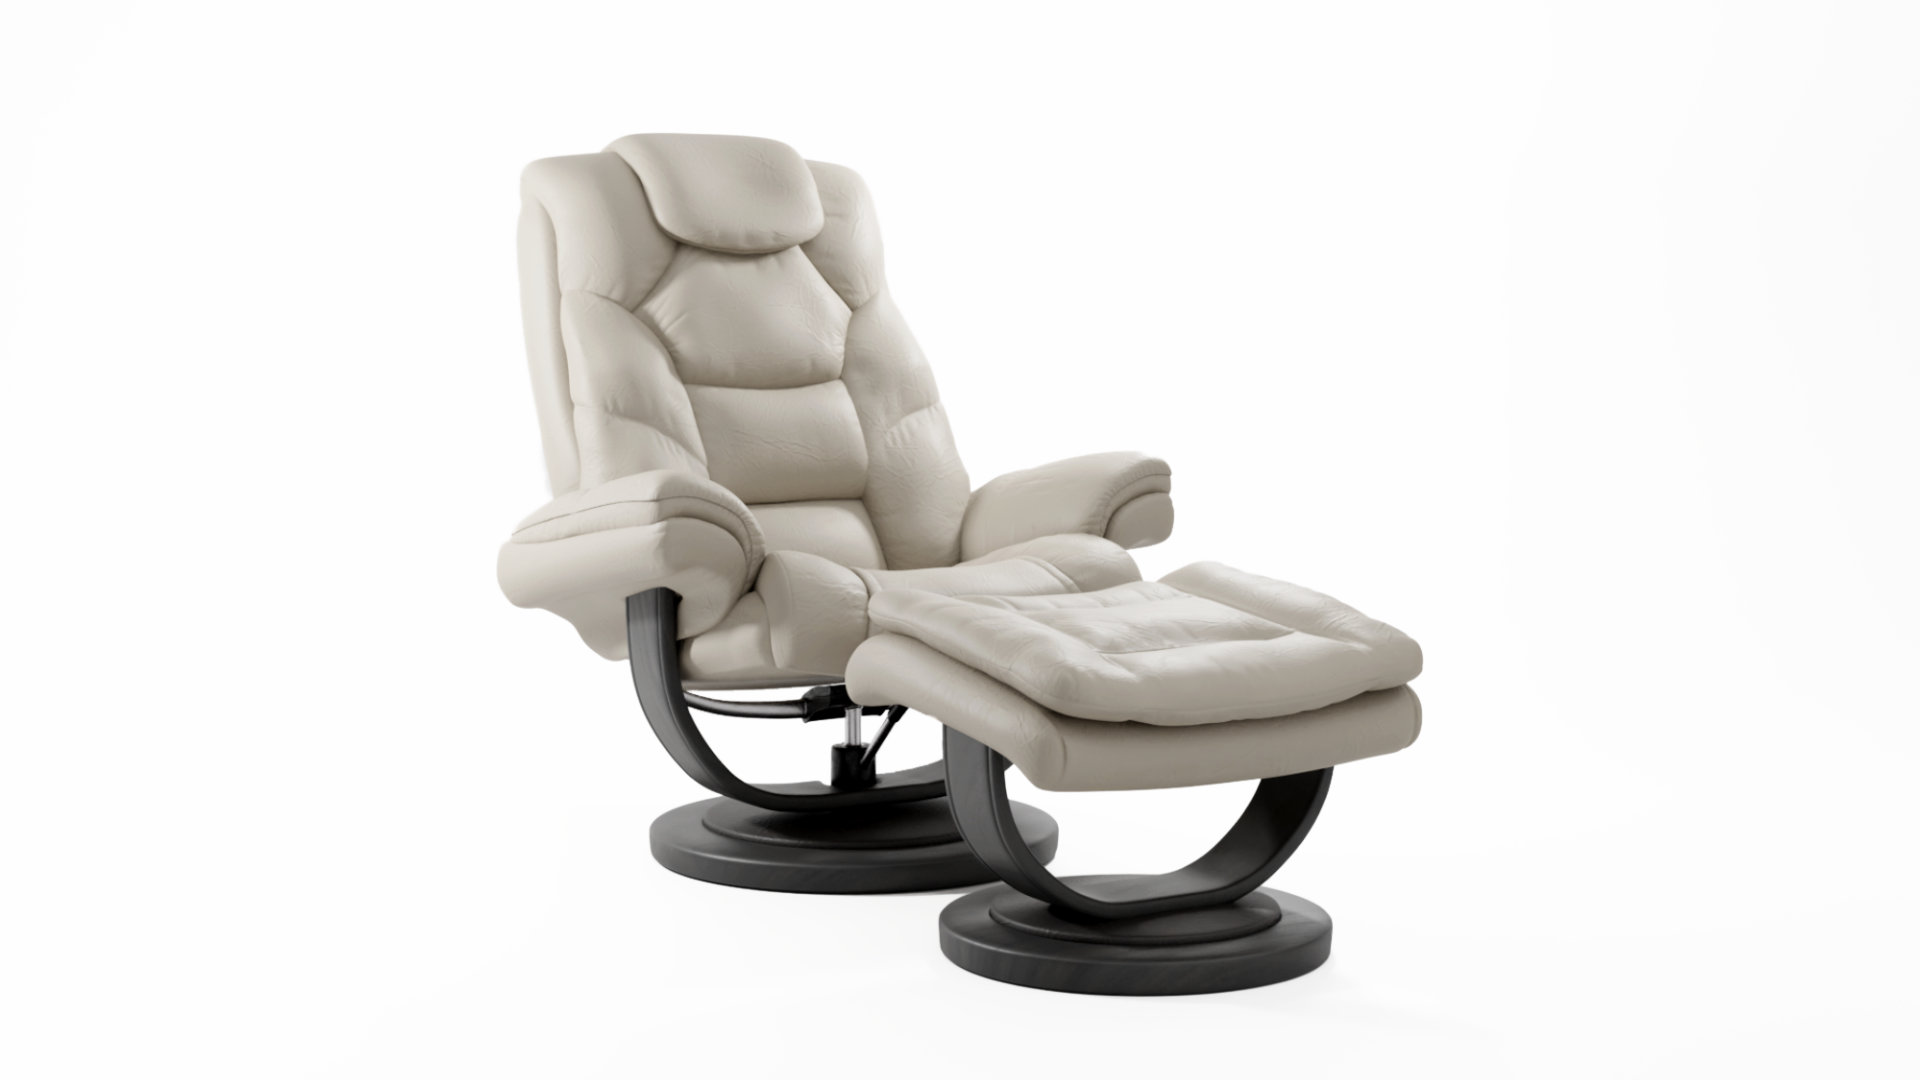
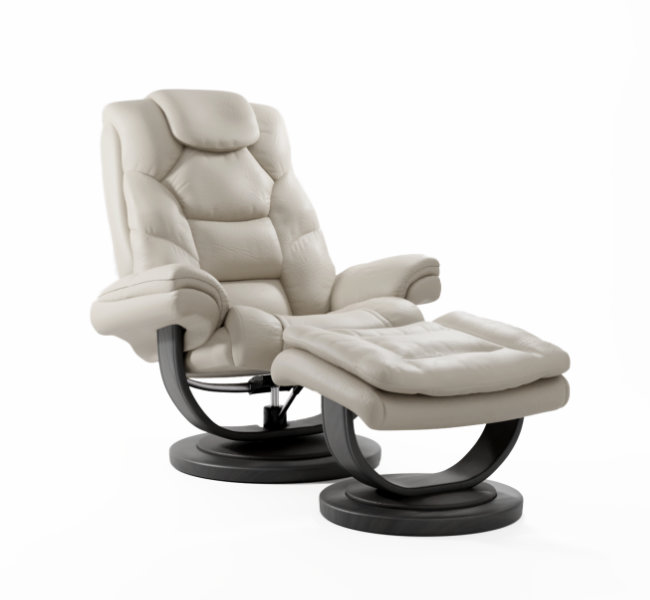
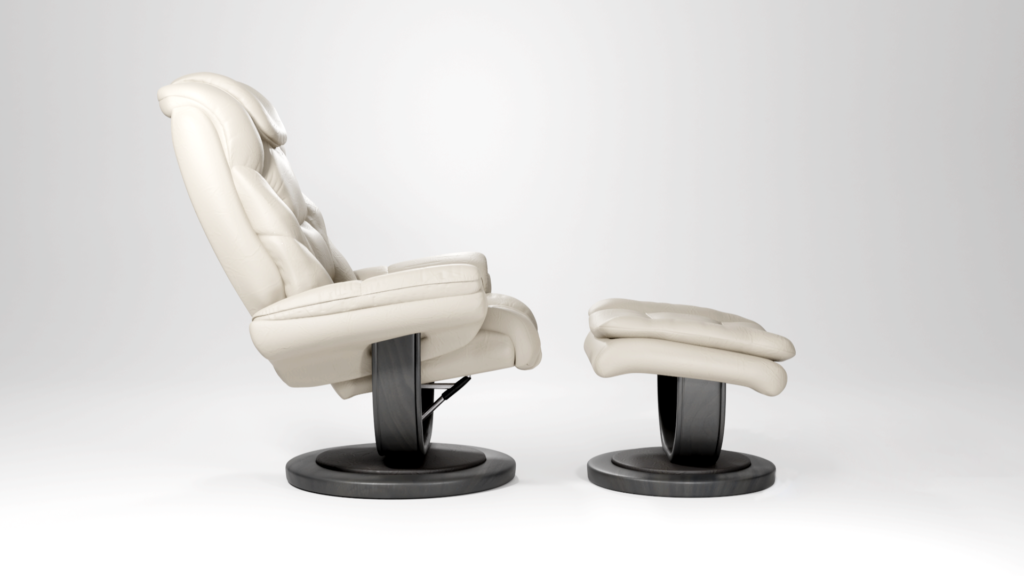
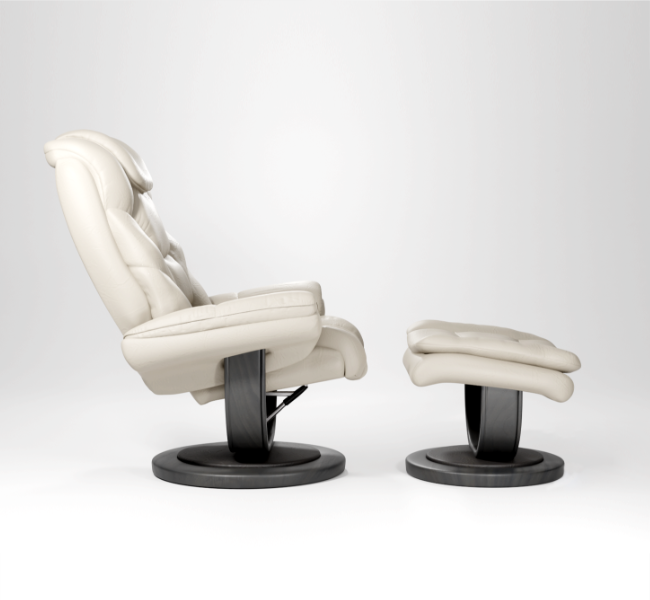
I modeled this chair to use in the master bedroom in my Mountain Modern Retreat project. The form of this chair is based on the Monarch Chair from Parker House furniture, however the styling and upholstry have been changed to fit the interior design style of the master bedroom.
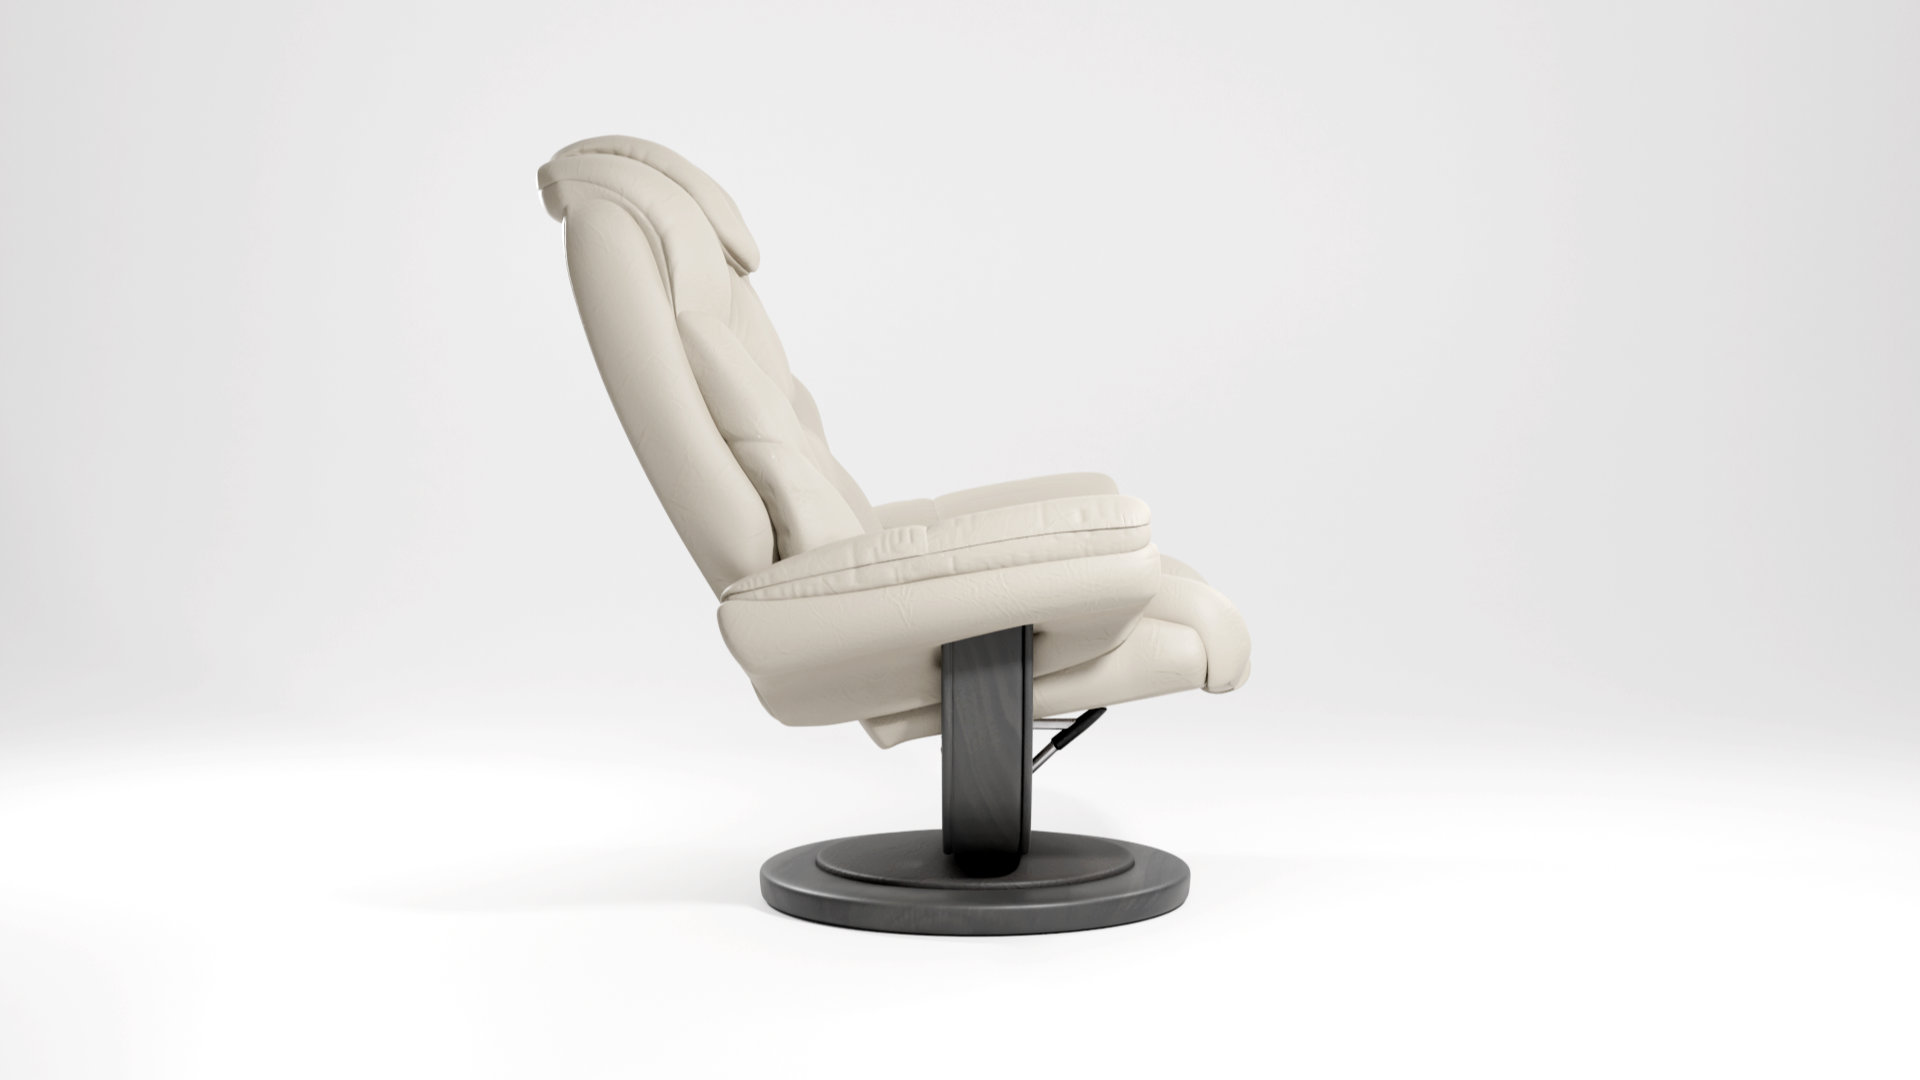
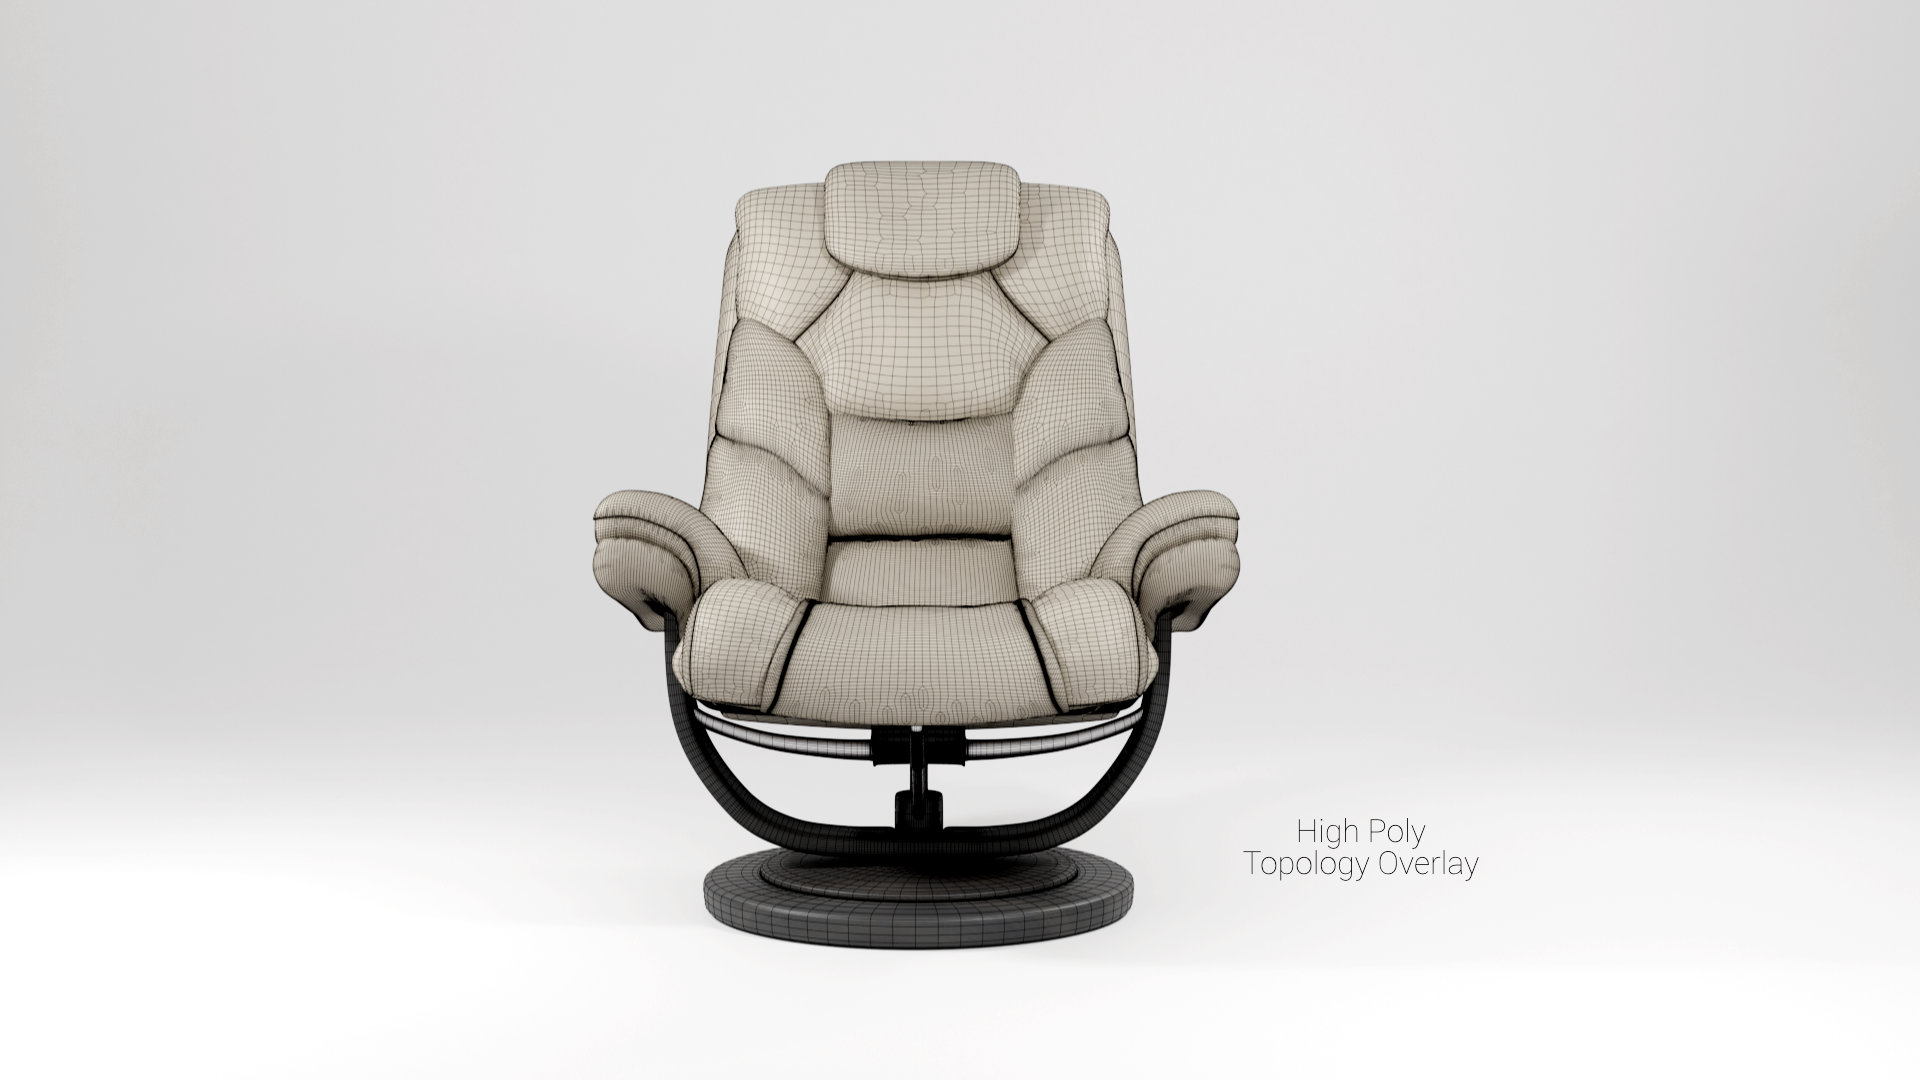
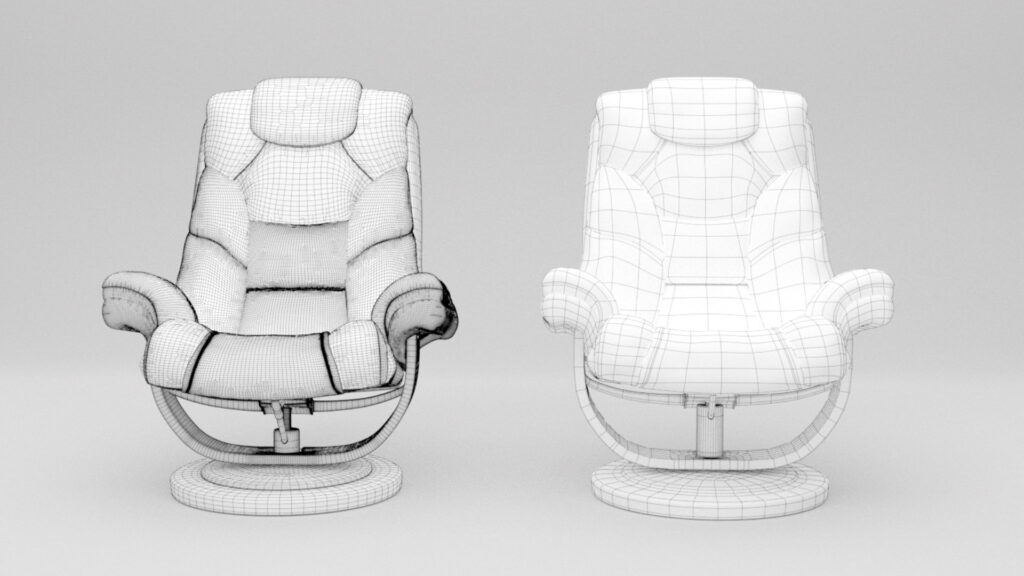
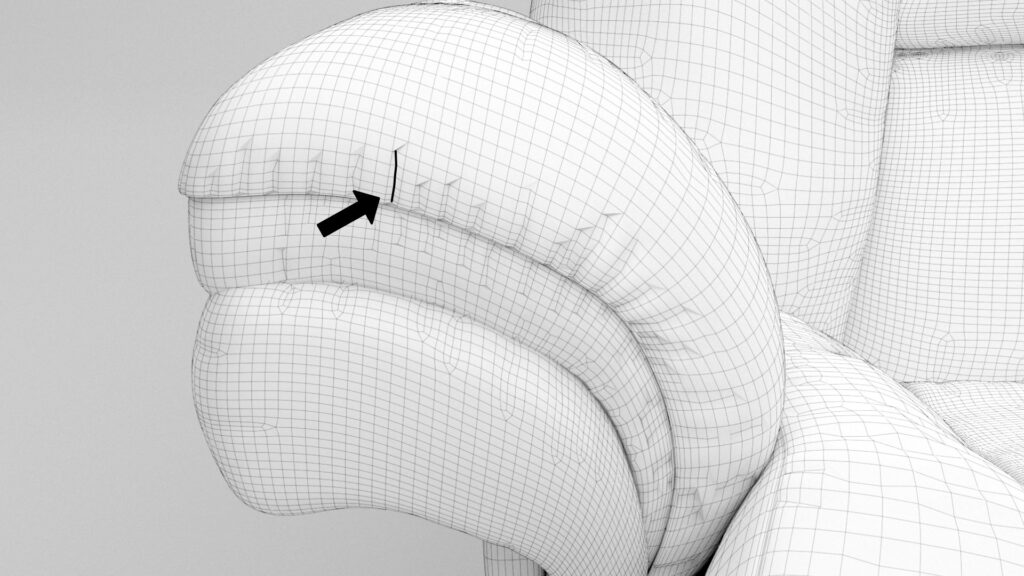
I began the model using basic shapes and a subdivision surface modifier to create the low poly model (shown on the right). I then made the decision to apply the modifier so that I coud create the high poly model (shown on the left). I did this because I wanted to try out a new technique to create folds and wrinkles in the fabric.
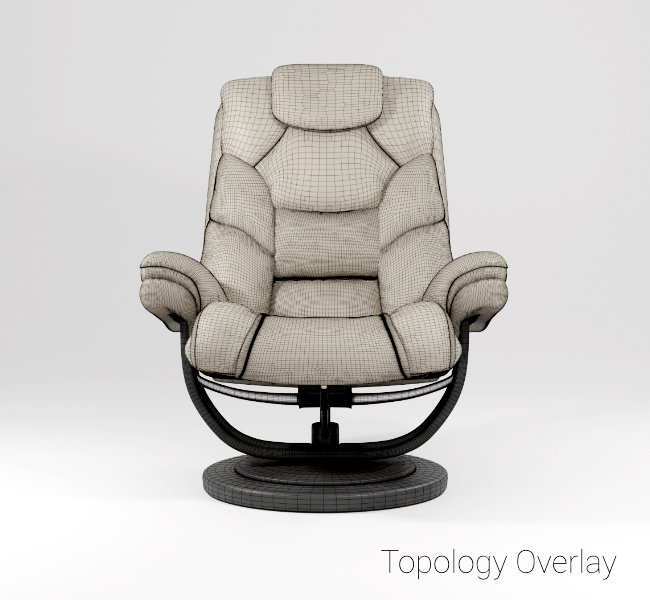
I used the knife tool to make cuts where I wanted creases in the fabric to be. I then selected the line I cut and moved the entire edge inwards towards the chair. This created shading artifacts, which gives the illusion of folds.
Since this was my first time trying out this technique, I made some mistakes that I will not be repeating in the future. By cutting into the geometry, I inevitably created n-gons. This would have been ok if they had been strategically placed to avoild landing on the UV seams. Since I failed to realize this mistake, I was no longer able to select the edge loops creating the seams and had to then select all of the seams manually, making unwrapping an absolute nightmare, especially since this is a high poly mesh.
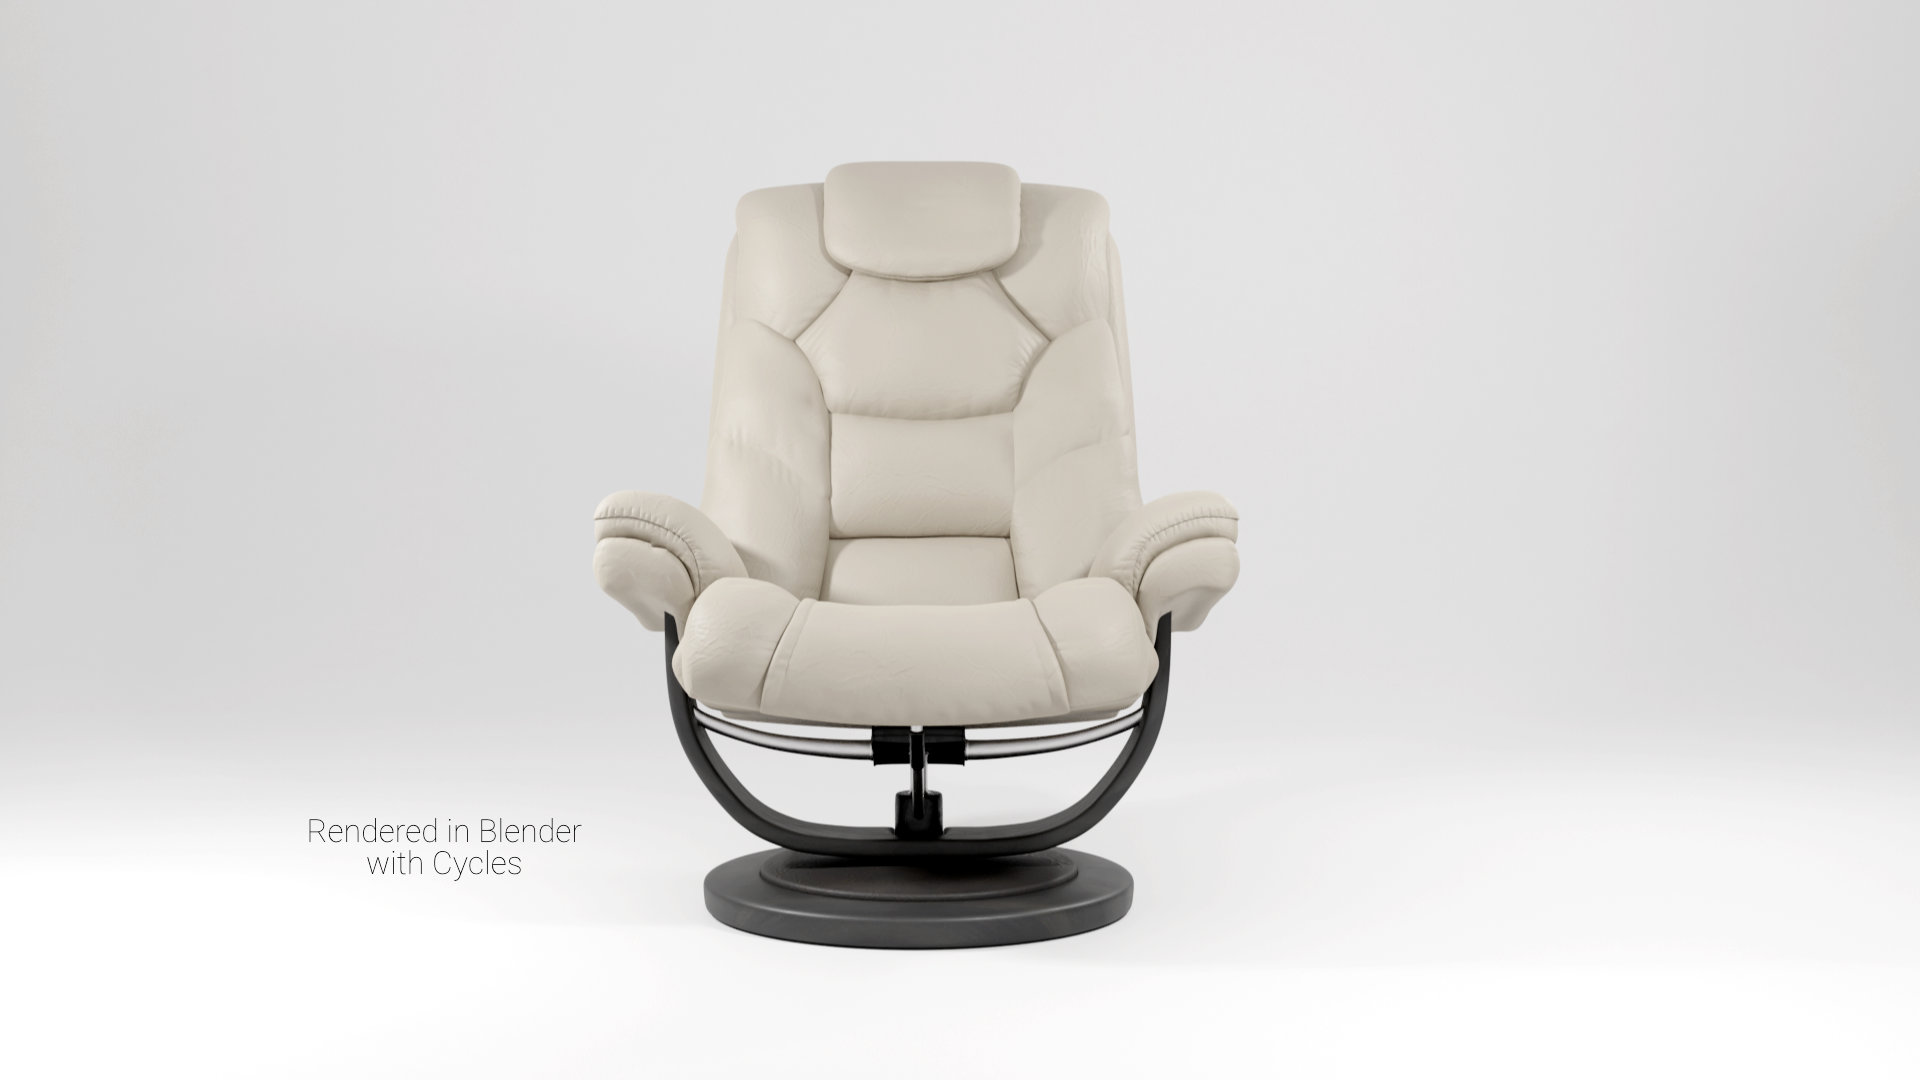
I will probably implement this technique in the future if I choose not to use marvelous designer. I like using this technique because it gives you complete control of where and how wrinkles are placed, which is impossible if you are using cloth simulation.
The challenge of using this technique is that it is difficult to get the wrinkles to look natural and not too repetitive. It also means you would have to bake the high resolution details to a low poly mesh, if you needed a low poly model for production.
| Cookie | Duration | Description |
|---|---|---|
| cookielawinfo-checkbox-advertisement | 1 year | The cookie is set by GDPR cookie consent to record the user consent for the cookies in the category "Advertisement". |
| cookielawinfo-checkbox-analytics | 11 months | This cookie is set by GDPR Cookie Consent plugin. The cookie is used to store the user consent for the cookies in the category "Analytics". |
| cookielawinfo-checkbox-functional | 11 months | The cookie is set by GDPR cookie consent to record the user consent for the cookies in the category "Functional". |
| cookielawinfo-checkbox-necessary | 11 months | This cookie is set by GDPR Cookie Consent plugin. The cookies is used to store the user consent for the cookies in the category "Necessary". |
| cookielawinfo-checkbox-others | 11 months | This cookie is set by GDPR Cookie Consent plugin. The cookie is used to store the user consent for the cookies in the category "Other. |
| cookielawinfo-checkbox-performance | 11 months | This cookie is set by GDPR Cookie Consent plugin. The cookie is used to store the user consent for the cookies in the category "Performance". |
| elementor | never | This cookie is used by the website's WordPress theme. It allows the website owner to implement or change the website's content in real-time. |
| viewed_cookie_policy | 11 months | The cookie is set by the GDPR Cookie Consent plugin and is used to store whether or not user has consented to the use of cookies. It does not store any personal data. |
| Cookie | Duration | Description |
|---|---|---|
| CONSENT | 16 years 4 months 2 days 16 hours 27 minutes | These cookies are set via embedded youtube-videos. They register anonymous statistical data on for example how many times the video is displayed and what settings are used for playback.No sensitive data is collected unless you log in to your google account, in that case your choices are linked with your account, for example if you click “like” on a video. |
| Cookie | Duration | Description |
|---|---|---|
| VISITOR_INFO1_LIVE | 5 months 27 days | This cookie is set by Youtube. Used to track the information of the embedded YouTube videos on a website. |
| YSC | session | This cookies is set by Youtube and is used to track the views of embedded videos. |
| yt.innertube::nextId | never | These cookies are set via embedded youtube-videos. |
| yt.innertube::requests | never | These cookies are set via embedded youtube-videos. |